Tarta Larpeira
Hello everybody, hope you are having an incredible day today. Today, I will show you a way to make a special dish, Tarta Larpeira. It is one of my favorites food recipes. For mine, I am going to make it a bit unique. This is gonna smell and look delicious.
Tarta Larpeira is one of the most well liked of recent trending meals on earth. It's enjoyed by millions every day. It is easy, it is quick, it tastes yummy. Tarta Larpeira is something that I've loved my whole life. They're fine and they look wonderful.
Many things affect the quality of taste from Tarta Larpeira, starting from the type of ingredients, then the selection of fresh ingredients, the ability to cut dishes to how to make and serve them. Don't worry if you want to prepare Tarta Larpeira delicious at home, because if you already know the trick then this dish can be used as an extraordinary special treat.
To begin with this particular recipe, we must first prepare a few ingredients. You can have Tarta Larpeira using 15 ingredients and 11 steps. Here is how you can achieve it.
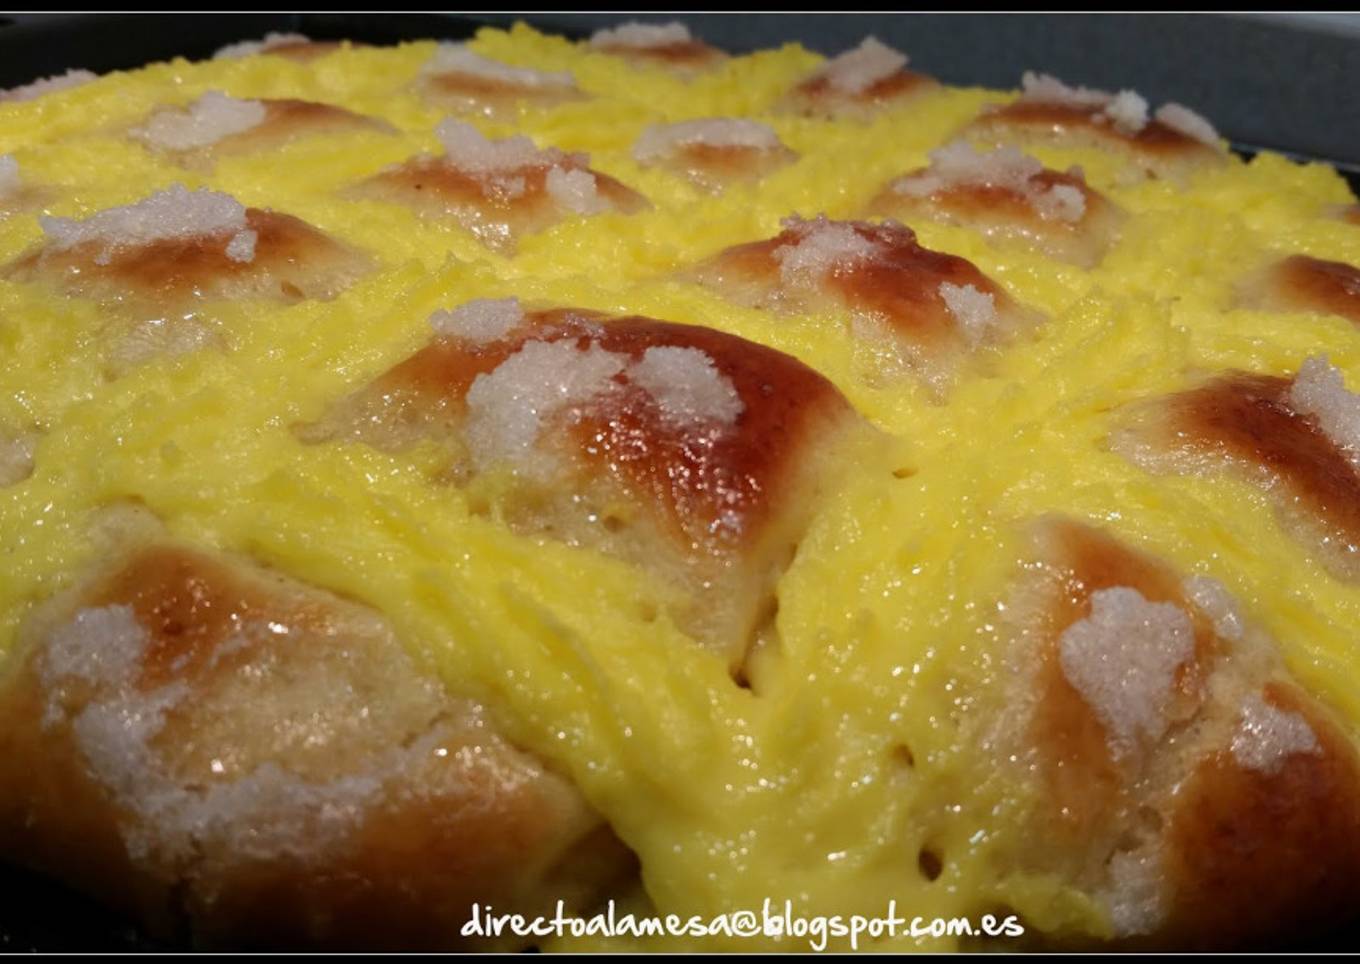
Hoy volvemos con postres típicos gallegos, una tarta larpeira, que en gallego significa goloso, y que sin duda hace honor a su nombre. Es un bollo (parecido al roscon de reyes) cubierta de crema pastelera y bañada en un almíbar con toque de anís.
Una auténtica delicia que puede parecer complicada pero que es muy sencilla y os aseguro que el resultado merece la pena.
Ingredients and spices that need to be Take to make Tarta Larpeira:
- 450 grs. harina de fuerza
- 25 grs. levadura fresca
- 140 ml. leche
- 1 huevo
- 30 grs. azúcar
- 70 grs mantequilla o aceite de girasol
- 15 grs. anís
- 1 pellizco sal
- 1 huevo batido para pintar
- Azúcar remojada en agua para decorar
- 250 grs crema pastelera (Podéis ver la receta aquí)
- Para el almíbar:
- 50 ml. agua
- 50 grs. azúcar
- 15 ml. anís
Steps to make to make Tarta Larpeira
- En thermomix:

- Comenzamos preparando el almíbar. Ponemos todos los ingredientes y programamos 3 minutos a 100º a velocidad 3. Reservamos. Si no la tenemos preparada, y sin lavar el vaso haremos la crema pastelera.
- A continuación y sin lavar el vaso ponemos todos los ingredientes de la masa: leche, mantequilla o aceite, anís, huevo, azúcar, pizca de sal, levadura y por último harina, mezclamos durante 10 segundos a velocidad 6 y amasamos durante 3 minutos a velocidad espiga. Dejamos reposar la masa dentro del vaso tapado durante 45 minutos.

- Sin thermomix:
- En un bol, ponemos la harina, hacemos un volcan en el centro y le añadimos la leche tibia con la levadura. Vertemos el resto de ingredientes (anís,huevo, azúcar, mantequilla o aceite y sal) y con la mano o una cuchara de madera mezclamos bien hasta conseguir una masa homogénea.
- Al principio es complicado porque queda una masa un poco correosa, lo mejor es untarse las manos con aceite y mezclar todo bien, hasta conseguir una bola. Lo ponemos en un bol y reservamos.
- Pasado ese tiempo damos forma de bola a la masa. A continuación la aplastamos con ayuda de un rodillo y la pintamos con huevo batido. Con un cuchillo bien afilado realizamos cortes en forma de cuadrícula (sin llegar al fondo) y dejamos que doble su tamaño durante aproximadamente 1 hora.
- Precalentamos el horno a 200ºC y mientras vamos rellenando los cortes con la crema pastelera ayudándonos de una manga. Por último, vamos poniendo azúcar remojada en agua en cada cuadrícula.

- Bajamos la temperatura del horno a 180º C y la tenemos durante 25 minutos aproximadamente. Nada más salir de horno, con ayuda de un pincel, y aún en caliente, bañamos con el almíbar que teníamos reservado.

- Dejamos que se enfríe completamente.

- El resultado es increíble, queda un bollo esponojoso, con todo el sabor del anís acompañado de la crema pastelera. Sin duda un postre que repetiréis y que hará las delicias de los más golosos. ¿Os animáis a probar?

As your experience as well as confidence expands, you will certainly discover that you have extra natural control over your diet and also adjust your diet regimen to your personal preferences in time. Whether you want to serve a recipe that utilizes fewer or even more ingredients or is a bit basically hot, you can make simple adjustments to attain this objective. To put it simply, start making your dishes in a timely manner. As for standard cooking abilities for newbies you don't need to learn them however just if you grasp some straightforward food preparation methods.
This isn't a total overview to fast and also very easy lunch dishes but its good something to chew on. Hopefully this will certainly get your creative juices moving so you can prepare delicious dishes for your household without doing way too many heavy meals on your trip.
So that's going to wrap it up for this special food Simple Way to Make Super Quick Homemade Tarta Larpeira. Thank you very much for reading. I'm confident that you will make this at home. There is gonna be more interesting food at home recipes coming up. Remember to bookmark this page in your browser, and share it to your loved ones, friends and colleague. Thank you for reading. Go on get cooking!


Comments
Post a Comment